Choose an attached leaf and a consistent viewpoint
Start with a clearly visible leaf, paper and a pencil. A simple oval leaf with little overlap is a manageable first subject. Sit where you can see it while it remains attached to the plant, without plucking it or forcing it into position.
Keep your eye level and viewing direction consistent as you draw. A leaf can look wider or narrower when you stand up and sit down again, so settle your chair and paper first. The draft and finished drawing described below are original editorial fiction, not a standard shape for any particular plant.
Sketch the proportions and curved outline lightly
Compare the distance from the leaf tip to its base with the width at its widest point. In this fictional example, the visible length is about twice the width. Mark a light vertical guide and the widest position on your paper. Follow the proportions of your own leaf when they differ.
Build the outline with short, light strokes rather than drawing both sides darkly in one pass. Notice whether the widest point is actually halfway along, which way the tip leans, and how the base narrows. Return to the outside edge in front of you instead of beginning with an imagined symmetrical leaf.
Four steps from outline to veins and shading
Choose one attached leaf and keep your viewpoint steady. Lightly mark its length, width and widest position on the paper.
Connect the tip and base with the outer outline. Compare the width and curve on each side with the leaf, then revise your lines.
Follow the central vein, then add only the side veins you can see, observing their directions and thicknesses.
Leave the light area as bare paper and build a little shading in one darker area. Stop while the outline and veins remain clear.
Add the central vein and only the visible side veins
The midrib is the relatively distinct vein running along the middle of the leaf. It need not be ruler-straight. Follow a curve if the midrib bends, and ease your pencil pressure where it appears finer near the tip.
Add the side veins branching from it only where you can see them. Look separately at each side: the number, angle and length may differ. A fold or an obscured area can remain blank. Do not add invisible lines just to fill the page.
Revise the fictional symmetrical draft into a finished drawing
The first fictional draft has matching curves on either side of a straight central line. Looking again reveals a slightly wider right edge and a tip leaning left. Move the right outline a little outward and shift the tip left. Gently erase some of the old line so it does not compete with the revised edge.
The finished example has an elongated outline, a fuller right side and a left-leaning tip. Inside it are a gently curved midrib, three visible side veins on the left and two on the right. Light shading sits only at the lower right, while the brighter upper area stays blank. These shapes and counts belong to the invented observation; they are not an answer to copy onto every real leaf.
Leave the light area and build one darker patch gradually
Choose a bright area receiving light and one relatively darker area. Leave the paper showing in the bright part and pass the pencil lightly over the darker part several times. Step back from the drawing and stop while the outline and veins remain legible, rather than pressing hard to make it dark at once.
A dark-green leaf does not require you to blacken the entire drawing. This exercise concerns one leaf's form, so one clearly observed brightness difference is enough. If you cannot distinguish a surface marking from a shadow, keep the lines you can confidently see and use less shading.
Look back at the leaf photo and your own drawing together
After drawing, you can photograph the leaf from the same position and photograph the paper separately. In Pogaem, select both photos and write a revision note such as "Widened the right outline and moved the tip left." Add the date and viewpoint to show which observations informed the drawing.
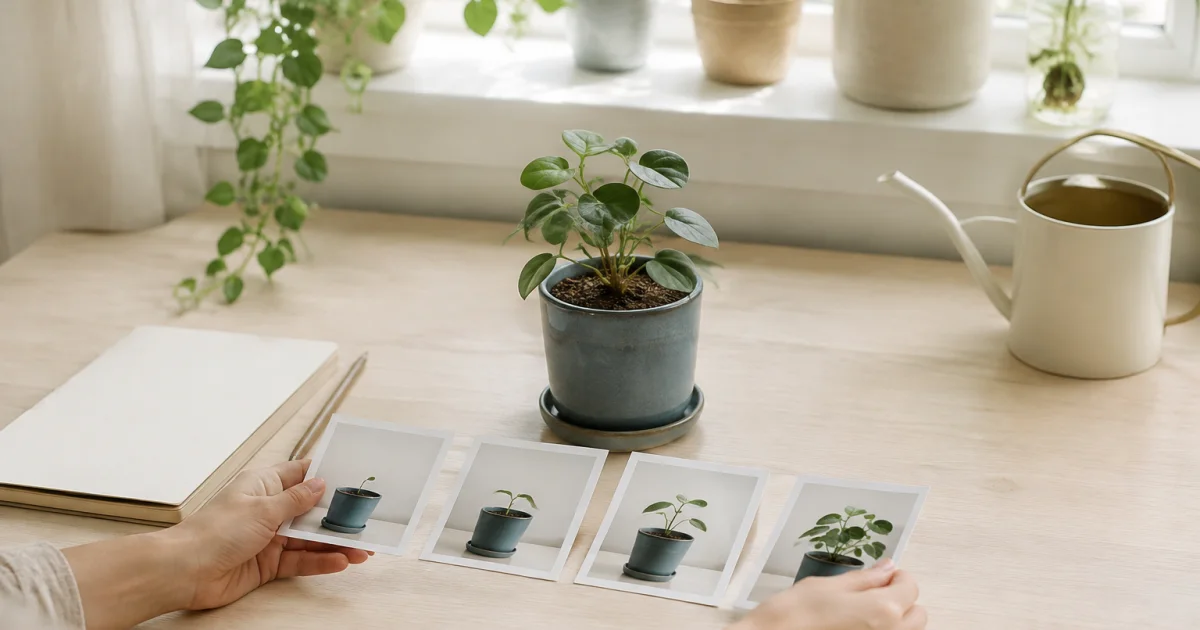
You do the drawing and comparison yourself. This record does not establish the plant's name or the health of its leaf. The cover shows four growth photos beside a potted plant as a contextual illustration; it does not depict the finished pencil drawing or fictional draft described here.
Frequently asked questions
Do I need to pick the leaf and put it on the paper?
You can observe it while it remains attached to the plant. Sit where its outline is clear, without forcing the leaf or stem into position.
What if the veins are hard to see?
Draw only the central and side veins you can confidently see. Leave faint or hidden ones out rather than inventing decorative lines, and concentrate on the visible outline and proportions.
Can Pogaem identify or diagnose the plant from my drawing?
This article describes observing and drawing a leaf yourself, then saving photographs and your own notes. It does not assume plant identification or diagnosis as a Pogaem feature.