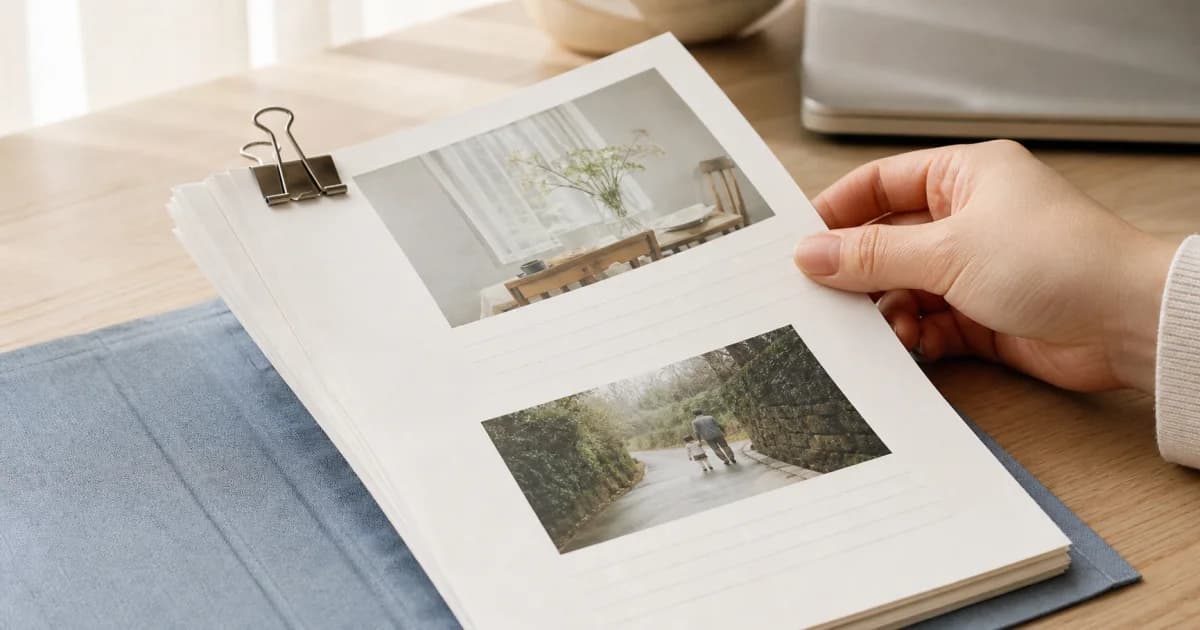
Sketch four spreads with the cover excluded
Begin by labeling your chosen photos, then deciding which belongs on the left and right of each spread. This guide makes a paper draft with eight photographs, one on each of eight interior page areas. Draw a center line on four sheets and label them spreads 1 through 4.
Keep the cover outside these eight page areas and consider its title separately. The spread numbers name units in this planning exercise. These labels do not specify a real product’s printed pagination, minimum page count, or binding. Check the actual page structure in the tool you use when ordering.
Identify the contents and orientation of photos A to H
The following park-visit photos are original editorial fiction. A is a landscape view of the park entrance; B is a portrait view of a person’s hand and upper body as they read a sign; C is a portrait view of someone walking away; D is a landscape view of a path among trees. E is a landscape view of a bag on a bench; F is a portrait of someone seated there; G is a landscape view of the return path; H is a portrait view of an empty water bottle held outside the park.
Give your own pictures labels and descriptions in the same way. Enlarge the originals to see where faces, hands, and lettering fall, then note landscape or portrait orientation. The eight pictures above are invented to explain the layout. Do not assume they appear in the cover illustration.
A complete four-spread layout with captions
In this fictional draft, every photograph is centered within margins. Leave blank space toward the central fold so neither image nor text touches it. On spread 1 left, place the whole landscape photo A without cropping, with “Choosing a path at the park entrance” below it. On the right, keep portrait B uncropped so the hand and sign text remain visible, captioned “We followed the path the hand pointed to.” On spread 2 left, crop only empty sky from the top of portrait C, retaining the head and feet, and write “Following the shade farther inside.” On the right, use all of landscape D, captioned “The path curved between the trees.” Each of these four page areas has one photo and its own caption below.
On spread 3 left, crop only empty ground from the bottom of landscape E, retaining the bag and bench end, and write “Putting down the bag for a short rest.” On the right, keep portrait F uncropped to retain face and hands, captioned “Watching people pass from the bench.” On spread 4 left, use the whole landscape G with “Returning along the way we came.” On the right, use all of portrait H with “Outside the park with an empty bottle.” Again, keep each picture and the caption below it within the margins. Faces, the bag, the bottle, and all text stay clear of the center line. Separately from the eight interior page areas, the proposed cover title is An Afternoon Following the Shade.
Four steps to turn chosen photos into a page plan
Define the single story the book will keep. Choose eight photographs, labeling them A to H with their contents and orientation.
Draw left and right spaces for four spreads on paper. Assign each photo label once and mark the cover as separate.
For every page area, specify orientation, a crop or the whole image, margins, and a caption. Mark faces and lettering that need to stay clear of the central fold.
Count missing or repeated photos across the eight page areas and open the paper spreads in order. When moving to a production tool, recheck against its actual page and printing instructions.
Check folds and cropping again in the production tool
On paper, keeping photos away from the center line makes it easy to show what you want to protect. Actual binding and editor safety areas vary. Read the production tool’s guidance and inspect its real preview for important faces or lettering that may be hidden or cropped.
Filling a page area with a landscape photo can crop its top, bottom, or sides. If all of the entrance in A matters and does not fit, place it smaller so the whole scene remains visible, or choose another image. This draft does not establish a margin measurement or resolution suitable for every printer.
Decide whether to make a photo smaller or replace it
A photograph does not have to cover the entire page area. If both the hand and sign in B matter, keep the original proportions, place it smaller, and leave space around it. If a long caption pushes into the photo’s space, shorten it to one action that page needs to convey.
If a photograph is unreadable at the smaller size, swap it to another page area where it can be larger or choose a replacement. Update its description and caption whenever you change labels. The first selection order is not binding; what matters is that the final draft correctly states what goes where.
Keep originals, layout notes, and external editing distinct
Pogaem can hold your selected photos and a note you write, such as “Spread 2 left: C, crop only the sky above.” You can photograph the paper draft yourself and add it to the entry. Distinguish the day the pictures were taken from the day you made the layout in the body text.
Design the left and right pages and prepare order files on paper or in a separate editing tool. Do not treat a Pogaem entry or PDF as a print-order file automatically laid out to this plan. Check the actual product’s page count and input requirements. Agree on the audience with pictured people before distributing a book containing their photos.
Frequently asked questions
Are eight photos and four spreads required?
No. These numbers make this exercise small enough to follow through to a finished draft. Check the page count and structure of a real book in the production tool you use.
Can one photo extend across both pages?
Check whether the editor and binding support that layout. Keep important faces or lettering out of the central fold. This article’s example places one photograph on each side.
Is a Pogaem PDF a print-ready photo book order file?
An exported entry PDF should not automatically be treated as a print-order file. This left/right layout and the order file require separate editing. Check the production tool’s required format and specifications.